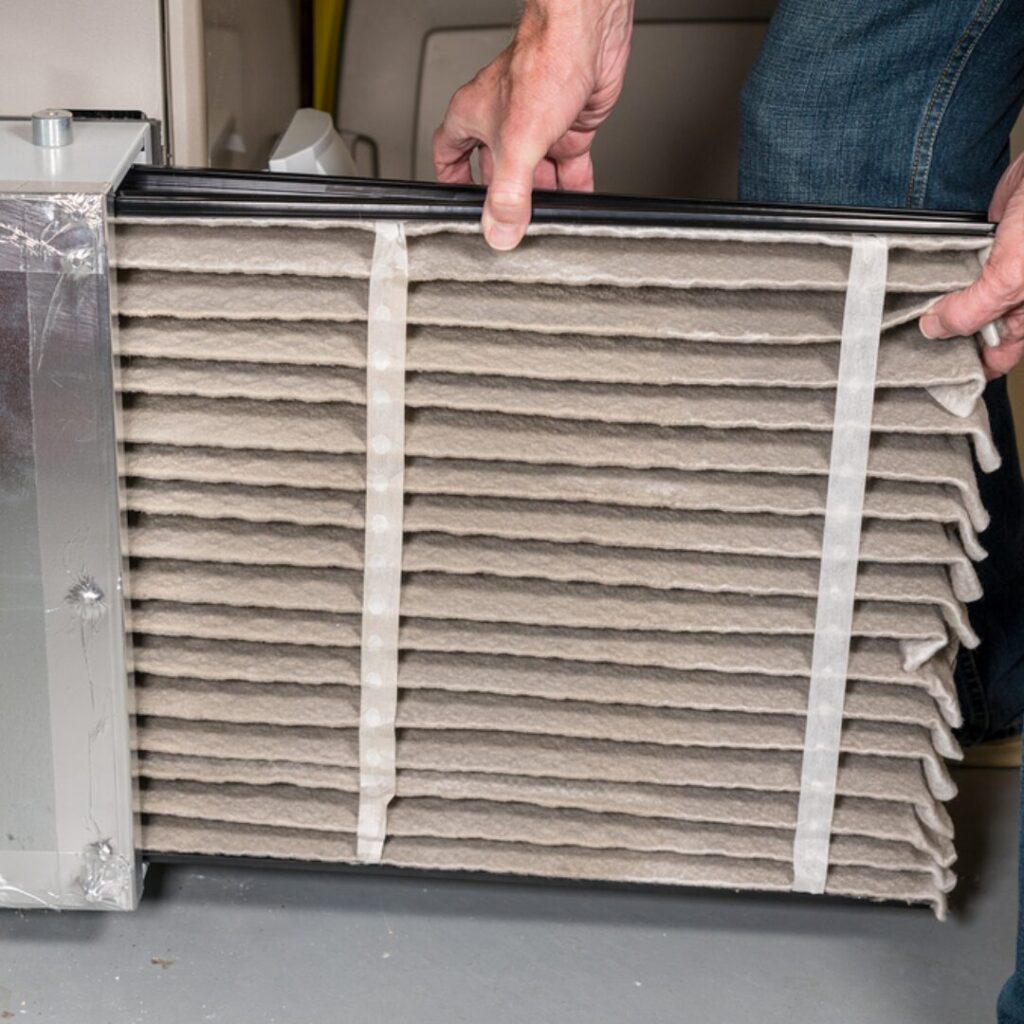
A clogged air filter can lead to increased energy bills, poor indoor air quality, and even system failures. Maintaining a clean air filter is crucial for the efficiency and longevity of your AC system. Changing your air filter is a simple task that you can do yourself in just a few minutes. Heat Relief experts created this step-by-step guide to ensure your AC system operates at peak performance.
Step 1: Locate the Air Filter
Air filters are usually located in one of two places: inside the return air vent or in the air handler unit. Here’s how you can locate them:
Return Air Vents: These are typically larger vents found on walls or ceilings in hallways, living rooms, or other common areas. To check if it houses the filter, look for a latching mechanism or screws. Open the vent cover to access the filter.
Air Handler Unit: This unit is often found in basements, attics, utility closets, or crawl spaces. The filter is usually situated in a slot on the side, bottom, or top of the air handler. Look for a compartment door or a removable panel to access the filter.
Step 2: Remove the Old Air Filter
Carefully open the filter compartment. If the filter is in the return air vent, you may need to unscrew the cover. Once you have access, slide out the old filter. Take note of the size and type of filter you are removing, as you will need this information when purchasing a replacement.
Step 3: Check the Condition of the Old Filter
Inspect the old filter to see how dirty it is. If it’s covered in dust and debris, it was definitely time for a replacement. Regularly changing your filter every 1-3 months, depending on usage, is recommended to keep your system running efficiently.
Step 4: Determine the Right Filter Size
Filters come in various sizes, and it’s crucial to get the right size for your system. The size is typically printed on the side of the old filter. If it’s not, measure the length, width, and depth of the filter compartment. Common filter sizes include 16x20x1, 20x25x1, and 16x25x4, but there are many others, so ensure you get an exact match.
Step 6: Understand MERV Ratings
Filters are rated using the Minimum Efficiency Reporting Value (MERV) system, which ranges from 1 to 20. The higher the MERV rating, the more particles the filter can capture. Here’s a breakdown of common MERV ratings and their applications:
MERV 1-4: Basic filtration; captures large particles like dust and lint. Suitable for minimal filtration needs.
MERV 5-8: Standard residential use; captures dust mites, mold spores, and pet dander.
MERV 9-12: Better residential and commercial use; captures finer particles like lead dust and some bacteria.
MERV 13-16: High efficiency; captures smoke, bacteria, and some viruses. Often used in hospitals.
MERV 17-20: HEPA filters capture the finest particles, including viruses and allergens. Used in cleanrooms and surgical settings.
For most residential applications, a MERV rating between 8 and 12 is adequate. If you have allergies or other respiratory issues, consider using a filter with a higher MERV rating.
Step 7: Insert the New Air Filter
Take the new air filter and make sure it matches the size and type of the old one. Look for the arrows on the filter frame that indicate the direction of airflow. These arrows should point towards the blower and away from the return air duct. Slide the new filter into the compartment, ensuring a snug fit.
Step 8: Secure the Filter Compartment
If you had to remove screws or a cover to access the filter compartment, make sure to replace them and secure the cover. Double-check that everything is in place and that the filter is properly seated. By following these simple steps, you can keep your AC system running efficiently and ensure that your indoor air remains clean and healthy. If you need any assistance or have questions about your system, don’t hesitate to contact Heat Relief at (503) 877-1713. We’re here to help keep your Portland area home comfortable year-round.

